How to Remove Carpet and Prepare Floors for New Flooring
Replacing old, worn-out carpeting is one of the most effective ways to refresh your home's look and improve indoor air quality. Whether you plan to install new hardwood, laminate, tile, or luxury vinyl plank, the first step is removing the old carpet and preparing the subfloor. While this may seem like a difficult task, it is a straightforward DIY project that can save you significant labor costs. By taking your time, using the correct tools, and following a systematic process, you can remove the old carpet safely and prepare a clean, flat surface for your new flooring installation.
Gather Your Tools and Safety Equipment
Before starting, you must prepare the right tools and safety gear. Removing carpet releases trapped dust, mold spores, and allergens, so a high-quality dust mask or respirator, safety glasses, and heavy-duty work gloves are essential. For tools, you will need a sharp utility knife with replacement blades, a pry bar or trim puller, heavy-duty pliers, a claw hammer, a floor scraper, duct tape, and a vacuum cleaner. It is also helpful to have large trash bags or ties to secure the rolled-up carpet for disposal. Ensure you clear the room completely, removing all furniture, doors, and floor vents to prevent damage during the process.
Step 1: Pull Up and Cut the Carpet
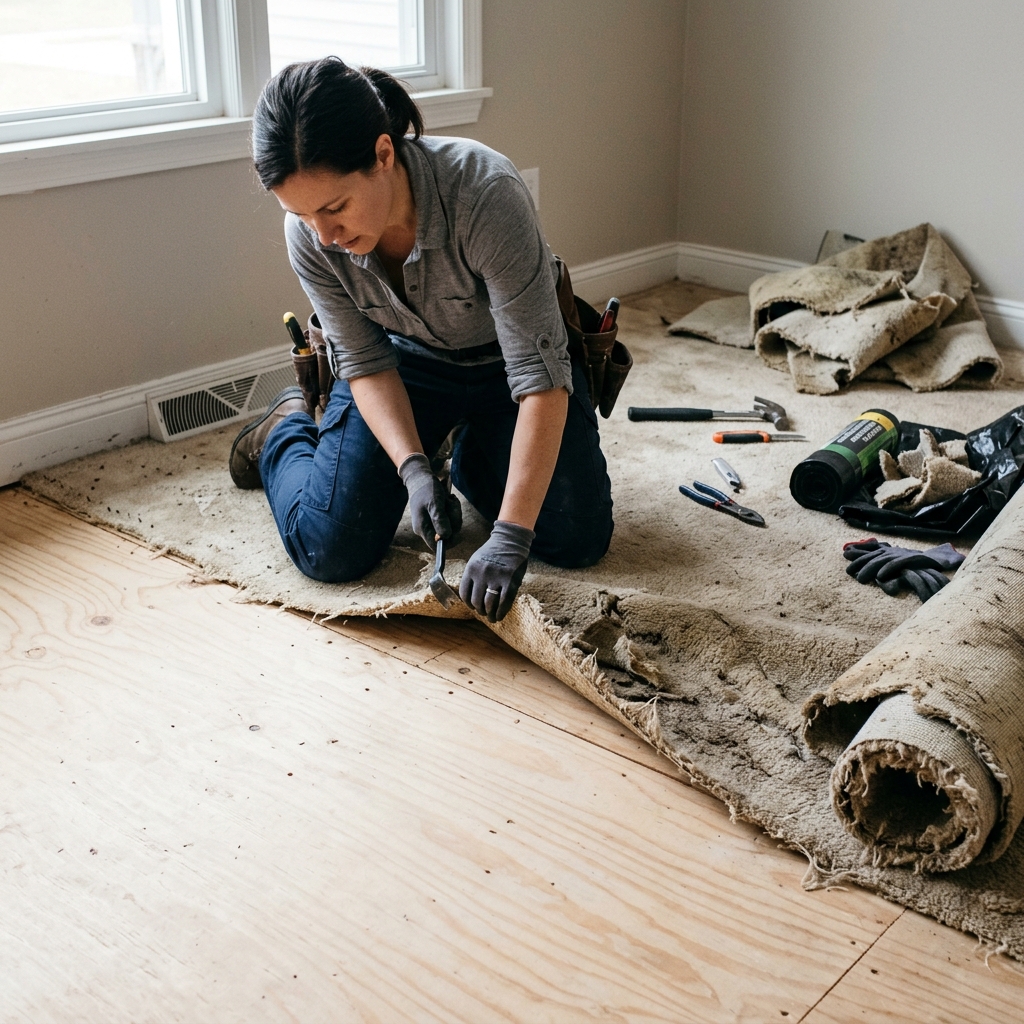
Start in a corner of the room. Use your pliers to grab the carpet fibers and pull the carpet up and away from the tack strip secured along the wall. If it is stubborn, use your utility knife to cut a small slit in the corner to get a better grip. Once you lift the corner, you can pull the carpet back by hand. Pull the carpet back about three to four feet, then fold it over. Using your utility knife, cut the carpet from the backing side into manageable strips, roughly three to four feet wide. Cutting the carpet into smaller strips makes it much easier to roll up, carry, and dispose of. Secure each rolled strip with duct tape to keep it neat.
Step 2: Remove the Carpet Underlayment
Beneath the carpet, you will find the underlayment, commonly a foam or rubber pad. This pad is typically stapled to wood subfloors or glued to concrete subfloors. Pull up the pad in sections, rolling it up just like the carpet. On a wood subfloor, you will be left with hundreds of staples embedded in the wood. Use your pliers or a flat floor scraper to pull these staples out. Do not leave any staples behind, as they will cause bumps or damage your new flooring. On concrete subfloors, scrape off any glued-down pad residues using a heavy-duty floor scraper until the concrete is smooth.
Step 3: Remove the Tack Strips Safely
Tack strips are wooden strips with sharp metal pins pointing upward, nailed along the perimeter of the room to hold the carpet in place. Because these pins are extremely sharp, wear heavy leather gloves and proceed with caution. Slide a flat pry bar under the tack strip, positioning it directly where the nails secure the strip to the subfloor. Tap the pry bar with a hammer to lift the nail and strip. Pry up the strips in sections, placing them directly into a sturdy container or trash box. Be careful not to damage the baseboards or drywall as you work along the edge of the room.
Handling Under-Door Clearances and Transition Trim
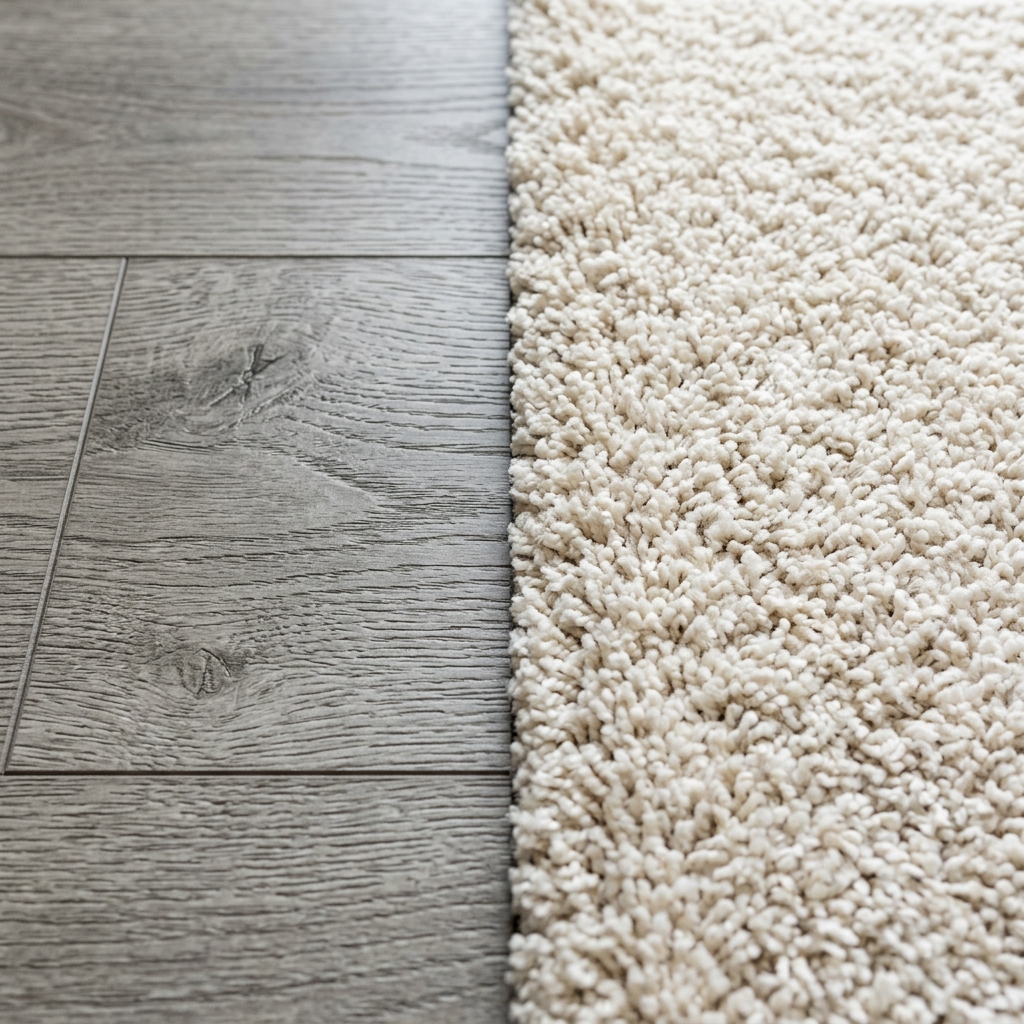
Once you remove the old carpet and padding, you will likely notice a significant difference in floor height. Carpeting with a thick pad can be nearly an inch thick, whereas luxury vinyl plank or laminate is much thinner. This height change can leave gaps under doors and baseboards. Conversely, if you are installing thick hardwood or tile, you might find that doors no longer swing open freely. Plan to check under-door clearances before installing your new floor, as you may need to trim the bottom of wooden doors. Additionally, prepare appropriate transition trim pieces (such as T-molds or reducer strips) to connect the new floor seamlessly with adjoining rooms.
Environmentally Responsible Carpet Disposal
Disposing of old carpet and underlay padding can be a challenge. Hundreds of thousands of tons of carpet end up in landfills each year, where they take decades to decompose. Before throwing your old carpet in a dumpster, check if local recycling programs accept carpet and pad materials. Some organizations can shred synthetic nylon carpet to create plastic resin pellets or convert foam underlay into new padding products. If recycling is not available, ensure you bundle the carpet rolls securely and contact your local waste collection authority to arrange for bulk trash pick up in accordance with local guidelines.
Common Pitfalls to Avoid in Carpet Removal
Removing old flooring is highly satisfying, but rushing the process can lead to costly mistakes. One common pitfall is neglecting to inspect for active mold or subfloor moisture before purchasing new flooring. Installing LVP or hardwood over damp subfloors will trap moisture, leading to rot and structural decay. Another error is prying tack strips in a way that damages wood subfloors or baseboards. Take your time, apply leverage carefully, and lift the nails out vertically. Finally, never try to cut the carpet from the top (fiber) side. This will quickly dull your utility blades and require excessive muscle effort. Always fold the carpet back and slide your knife along the backing for quick, clean cuts.
Step 4: Inspect and Repair the Subfloor
With the carpet and padding removed, you have a unique opportunity to inspect the subfloor. If you have a plywood or timber subfloor, walk across it to identify any squeaks or loose boards. Secure loose floorboards by driving deck screws into the floor joists below, which will eliminate squeaks permanently. Check for signs of water damage, rot, or insect infestation, and replace any damaged wood sections. If your subfloor is concrete, inspect it for cracks, pits, or uneven sections. Fill minor cracks with a concrete patch compound, and level uneven areas using a concrete grinder or self-leveling underlayment.
Step 5: Clean and Sanitize the Surface
The final step is preparing the surface through thorough cleaning. Use a heavy-duty vacuum cleaner equipped with a HEPA filter to sweep up all the fine dust, grit, and wood splinters left behind. If the floor had pet stains or odors, scrub the area with an enzymatic cleaner to neutralize the odor and prevent it from seeping through your new flooring. Let the subfloor dry completely before proceeding. A clean, flat, dry, and secure subfloor is essential for a successful new floor installation, preventing squeaks, shifting, or premature wear in your new material.
By following these steps, you can complete the removal and preparation process safely. Taking the time to prepare your subfloor properly ensures that your new flooring looks fantastic, feels stable underfoot, and lasts for its full expected lifespan.